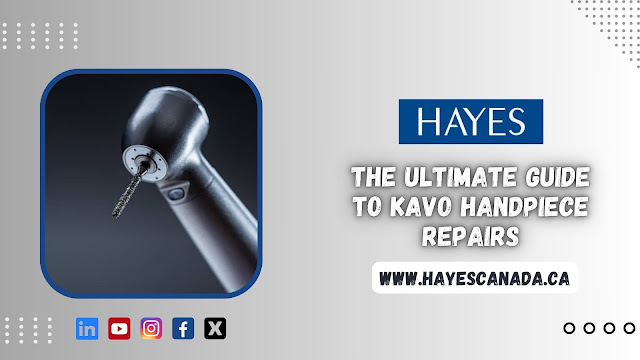
Step-by-Step Guide to High-Speed Handpiece Disassembly and Assembly

High-speed handpieces are essential tools in dental and
medical settings, allowing for precise and efficient procedures. However, over
time, these intricate devices may experience wear and tear, requiring
disassembly and assembly for maintenance and repairs. Here is a comprehensive
step-by-step guide to help technicians and professionals properly disassemble
and assemble high speed
handpieces, ensuring their optimal performance and longevity.
1. Preparing the Workspace
Before starting the disassembly process, create a clean and
organized workspace. Gather all the necessary tools, such as dental handpiece repair kits,
manufacturer-specific manuals, and safety equipment. Ensure that the work area
is well-lit and free from clutter to prevent the loss of small components.
2. Identifying and Removing External Components
Begin by identifying the external components of the
handpiece, such as the bur tool, water nozzle, and fiber optics. Gently remove
these parts using appropriate tools, taking care not to cause any damage. Place
the removed components in a designated tray to avoid misplacement.
3. Disconnecting Air and Water Lines
Carefully disconnect the air and water lines from the
handpiece using manufacturer-recommended techniques. This step is crucial to
avoid any accidental damage to the lines or contamination during disassembly.
4. Opening the Handpiece Housing
Using specialized handpiece opening tools or wrenches,
carefully open the handpiece housing to gain access to the internal components.
Follow the manufacturer's guidelines to avoid damaging the housing or internal
parts.
5. Removing the Turbine and Bearings
Once inside, locate the turbine assembly and bearings. Take
note of the orientation and arrangement of these components before removing
them. Use proper techniques and tools to extract the turbine and bearings while
avoiding any undue force.
6. Cleaning and Inspection
Thoroughly clean all disassembled components using an
appropriate cleaning solution and follow the manufacturer's cleaning
guidelines. Conduct a detailed inspection to identify any signs of wear,
damage, or contamination that may require repair or replacement.
7. Lubrication and Reassembly
Apply manufacturer-recommended lubricants to the appropriate
areas of the handpiece, such as bearings and chuck mechanisms. Then, follow the
reverse order of disassembly to carefully reassemble the handpiece, ensuring
each component is correctly aligned.
8. Final Testing and Quality Assurance
After reassembly, conduct a series of performance tests,
such as running the handpiece at different speeds and checking the water spray
functionality. Verify that the handpiece operates smoothly and quietly without
any issues. Perform necessary adjustments if required.
9. Cleaning the Exterior
Finally, clean the exterior of the handpiece using
appropriate cleaning agents and ensure all external components are securely
attached.
By following this step-by-step guide, technicians and
professionals can effectively disassemble and assemble high-speed handpieces,
maintaining their functionality and reliability for optimal clinical
performance. Regular maintenance using these best practices can help extend the
lifespan of high-speed handpieces and minimize downtime during critical
procedures.


Comments
Post a Comment